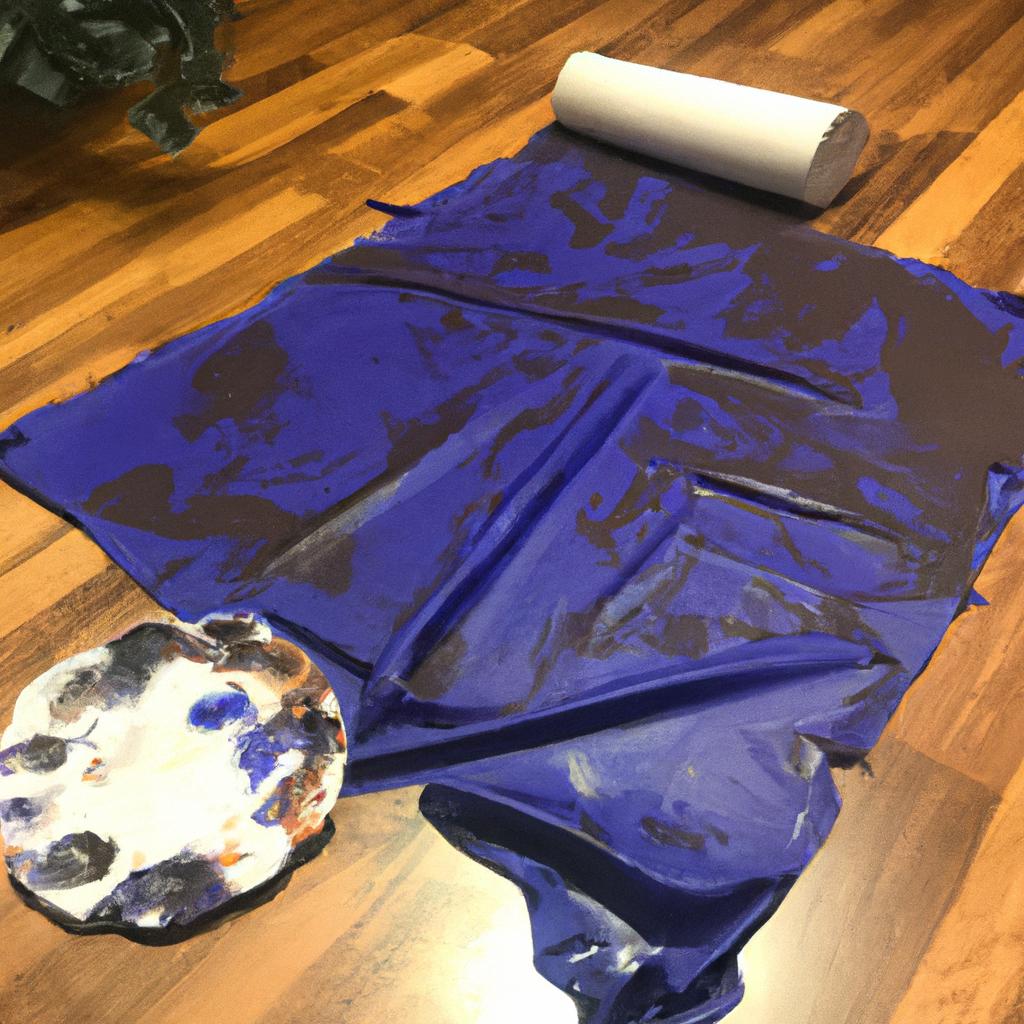
If you’re an outdoor enthusiast looking to get creative with your shelter, painting a tarp is the perfect way to go. Not only does it give your camping set-up that extra bit of personality and style, but it’s also surprisingly easy to do! With just a few simple supplies and some creativity, you can transform any ordinary flat tarp into something special.
Yes, you can paint a tarp, but it requires proper preparation and the right materials. To achieve a successful result, follow these steps:
1. Choose the right tarp: Select a tarp made of canvas or vinyl, as these materials hold paint better than polyethylene.
2. Clean the tarp: Ensure the tarp is clean and free of dirt, dust, and grease. You can use mild soap and water to clean it, then let it dry completely.
3. Select appropriate paint: Use acrylic or latex paint for canvas tarps, and vinyl-specific paint for vinyl tarps. These paints adhere well and are flexible enough to withstand the tarp’s movement.
4. Apply a primer (optional): For better adhesion and durability, you can apply a primer designed for the tarp material before painting. Let the primer dry as per the manufacturer’s instructions.
5. Paint the tarp: Apply the paint using a brush, roller, or spray gun, depending on the desired effect and coverage. Apply multiple thin coats, allowing each coat to dry before applying the next.
6. Seal the paint (optional): To protect the paint and increase its durability, you can apply a clear sealer or topcoat designed for the tarp material.
Remember that painted tarps may have reduced water resistance and flexibility, so consider the intended use of the tarp before painting it.
Let me show you how it’s done so you can create a unique piece of art in no time at all! Painting tarps opens up endless possibilities for personalizing your outdoor experience, allowing you to express yourself through color and design. Whether it’s a cheerful rainbow array or intricate mandala pattern, there’s no limit to what you can achieve with this fun DIY project.
So why not gather your supplies and join me as we explore the world of painted tarps? I promise you won’t be disappointed!
Types Of Tarps
Tarps are a great way to cover up, protect and waterproof any outdoor area. They come in various sizes, materials, colors, and textures so you can choose the perfect tarp for your needs.
Waterproofing tarps are especially important if you’re using them outdoors as they help keep items beneath dry, even in wet weather conditions. Tarps also come in different shapes such as squares or rectangles; depending on what size works best for the space you have available.
Materials range from polyethylene and vinyl which offer durability and flexibility while canvas is more lightweight with a softer texture. Color options vary widely but stick to neutral shades like browns or grays that won’t detract too much from their surroundings.
When it comes to choosing a tarp there’s really no right or wrong answer – just pick something based on what fits your budget, environment and purpose. With all these considerations taken into account, now comes the fun part – painting!
Choosing The Right Paint
Painting a tarp may seem like the last thing you’d want to do on your Saturday afternoon, but it can be surprisingly rewarding. After all, who doesn’t love watching the transformation of their hard work?

That said, before you grab up that brush and get started, there are a few things you should keep in mind:
- Weatherproofing – Make sure your paint is weatherproofed if using outdoors
- Priming surface – Prime any porous surfaces prior to painting
- Drying times- Allow ample time for drying between coats
- Brush types – Choose brushes specifically designed for outdoor use
As an outdoor expert I’m here to tell you that when painting tarps, color options are virtually limitless. You don’t have to stick with traditional blues and greens; why not go bold and try something unexpected such as ochre or sage green? And although these colors will look great initially, remember that the elements wear down even the best paints so make sure you choose quality products that will stand up over time.
With this advice in hand, it’s time to move onto preparing the tarp for painting.
Preparing The Tarp For Painting
Before you get to the fun part of painting your tarp, there are some preliminary steps that need to be taken.
First, it’s important to prime the tarp with a special paint primer designed for outdoor surfaces. This will ensure that the colors adhere properly and last longer in all kinds of weather conditions.
Next, take time to select colors that suit your tastes or project requirements.
After this, lightly sand any rough edges before sealing them so they don’t soak up too much paint later on.
If you’re feeling creative, now is also an excellent time to add unique designs onto the fabric!
With these things done, you’ll be ready for the next step: applying the paint itself.
Applying The Paint
‘If you don’t have the right tools, you can’t do the job.’ This adage rings true when it comes to painting a tarp. If your goal is to achieve a professional-looking finish, then selecting and using the correct materials is essential.

When choosing colors for your project, make sure that they match across all surfaces of the tarp.
To get an even coat coverage, use different brush types based on the surface area and texture of the material being painted. For example, if there are small crevices or textured areas on your tarp, consider using a smaller paintbrush with fine bristles to ensure better accuracy in those places.
Additionally, priming techniques should be applied prior to applying any coats of paint – this will help create a smoother canvas for additional layers and give more vibrant color results once dry.
Time management is also key when painting a tarp; depending on how many coats you’re planning on doing as well as other weather factors such as humidity levels, drying times could range from several hours up to half a day before moving onto another layer of paint.
Keeping these considerations in mind allows for efficient completion of your project while avoiding any unexpected problems along the way!
Frequently Asked Questions
What Is The Best Way To Clean A Tarp Before Painting It?
As an outdoor expert, I’m often asked about the best way to clean a tarp before painting it. This is important as it will affect how well your waterproofing paint sticks and ultimately how long that paint job lasts.
When storing your tarp, make sure you don’t leave it in direct sunlight as this can degrade the material over time.
To prep for painting, start by using a mild cleaning solution such as dish soap or laundry detergent mixed with warm water. Scrub any dirt, dust and debris off of the surface with a soft bristled brush and rinse thoroughly afterwards.
Once dry, use painter’s tape around edges to create sharp lines & even layers for your coating sealant – then apply multiple coats of waterproofing paint according to directions on packaging!
How Durable Is Paint On A Tarp?
Ah, the challenge of painting a tarp! It’s definitely doable, but you need to know what you’re doing.
Painting a tarp requires weatherproofing and sealing seams for long lasting results, using multiple colors when desired or needed. You also have to keep in mind that different fabrics require different types of paint and different techniques.
While it can be used indoors as well, if you want your painted tarp outdoors for any length of time, make sure you use quality paints made specifically for outdoor use.
As an outdoor expert with many years experience in this field, I assure you that with careful preparation and application, paint on a tarp is quite durable!
Can I Use Spray Paint On A Tarp?
Spray painting a tarp can be tricky, especially when you’re outdoors and prepping for the elements.
But with some expert tips on technique, colour choices, and canvas comparison – you’ll have your outdoor space protected in no time!
From vinyl to cotton or even plastic tarps – spray paint is an easy way to spruce up any area while adding layers of protection from Mother Nature’s wrath.
With just a few simple steps and some creative thought, you’ll be able to customize your own outdoor environment that reflects who you are and provides freedom from whatever weather may come.
How Much Paint Will I Need To Paint A Tarp?
Painting a tarp may seem like an intimidating task, but with the right painting techniques and color selection, you can create a waterproofing solution that will stand up to any weatherproofing methods.
With just enough paint to coat the entire surface evenly, your tarp will be able to withstand temperature effects while giving you the freedom to customize it however you’d like.
So don’t worry about needing too much paint – just make sure you give yourself enough time to properly cover every inch of your tarp!
Is It Necessary To Use A Primer Before Painting A Tarp?
Painting a tarp can be an exciting way to add color and protection to the surface.
Before you start painting, however, it’s important to consider whether or not using a primer is necessary.
Primers are beneficial in that they help protect the surface while also allowing for better adhesion of the paint so your colors last longer.
Additionally, primers allow you to mix different types of paints more easily and help reduce drying times too.
By taking time with choosing colors and mixing paints correctly, plus prepping the surface properly with a primer when needed, you’ll have a painted tarp that stands up against whatever elements come its way – giving you freedom to enjoy your outdoor space worry-free!
Conclusion
Painting a tarp can be an exciting and creative way to spruce up your outdoor space. With the right techniques, you can turn a drab piece of material into a beautiful work of art that adds color and texture to any surrounding.
Cleaning the tarp thoroughly before painting is key to making sure that your paint adheres properly. Durability depends on the type of paint used, so it’s important to do some research or consult with an expert beforehand.
I recommend using spray paint for larger tarps since it will give even coverage without having to worry about streaks or brush strokes. You may need more than one coat depending on how thickly you apply the paint and what kind of finish you are looking for. A primer is also recommended if you want maximum durability and long-lasting results.
By following these steps, my readers should have no problem transforming their old tarp into something unique and eye-catching! Just remember – when in doubt, seek professional advice from someone who has experience working with tarps and paints.


